 Phoenix Studio
Your first window in 5 minutes
Design a window, give it a button that does something and run it. Without writing a single line of the window itself.
1. Before you start
You need AutoIt v3 installed. Download Phoenix Studio, unzip it and open bin\ps.exe.
2. Start
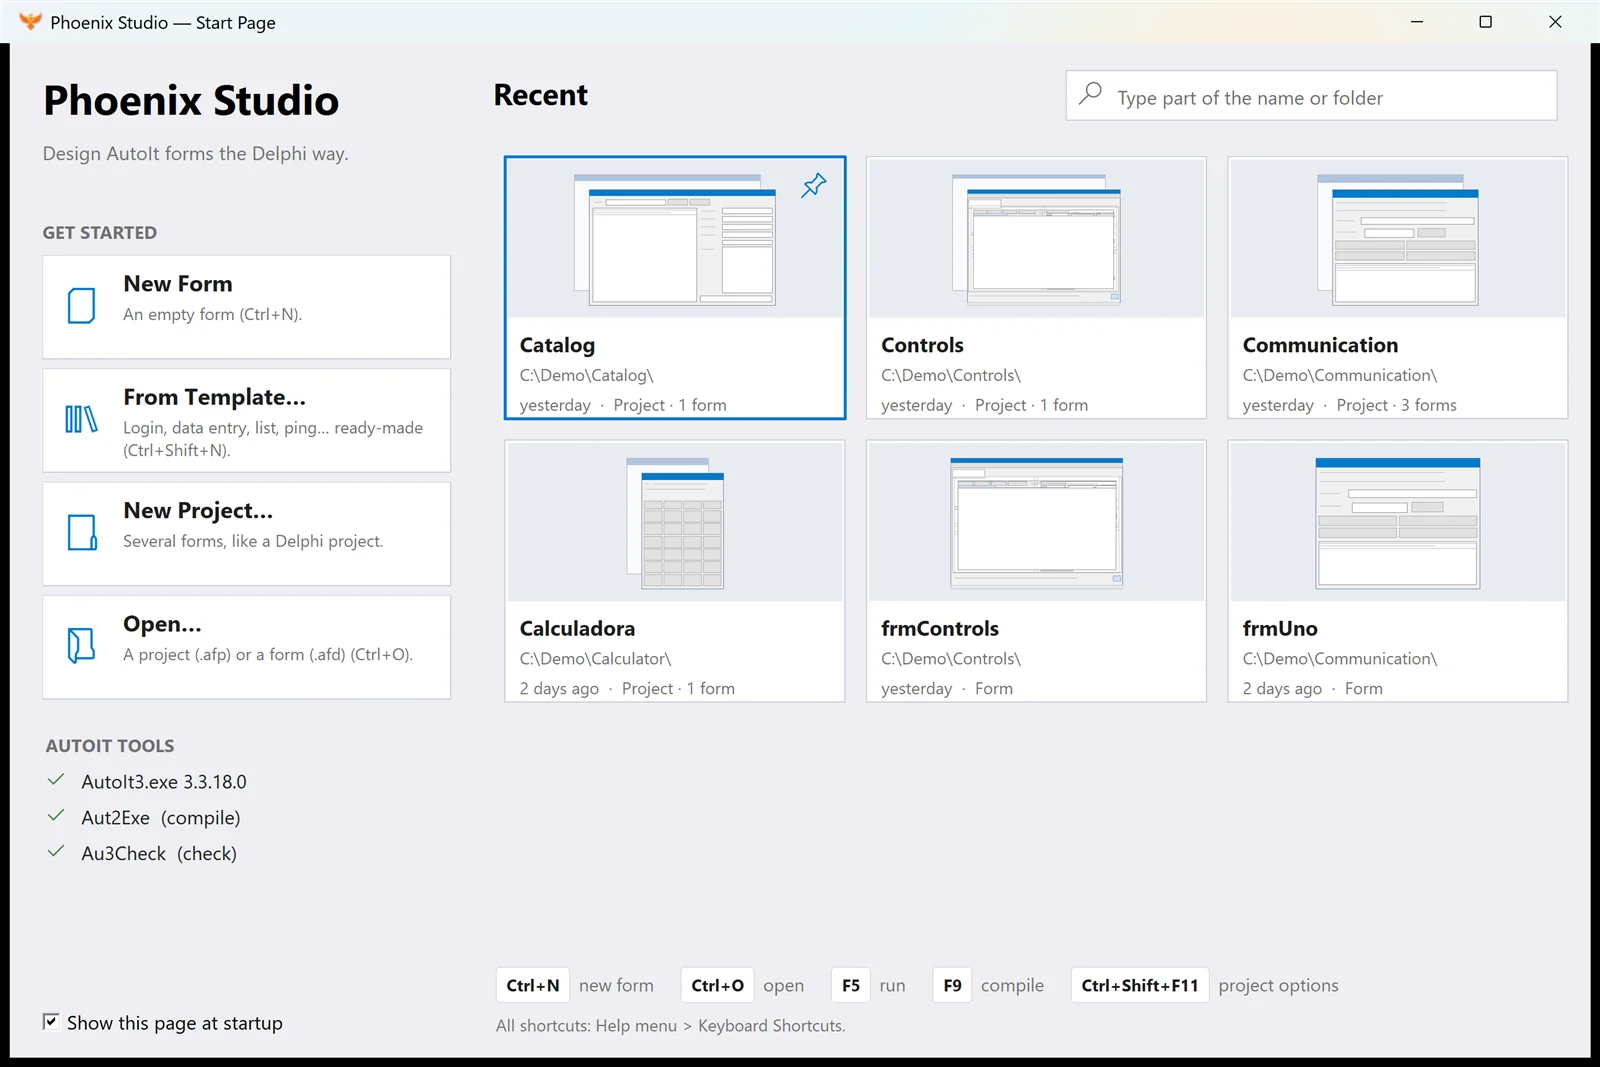
The start page shows your recent projects and the ways to begin. Pick something new: a project, a window or a ready-made template.
3. Drag controls
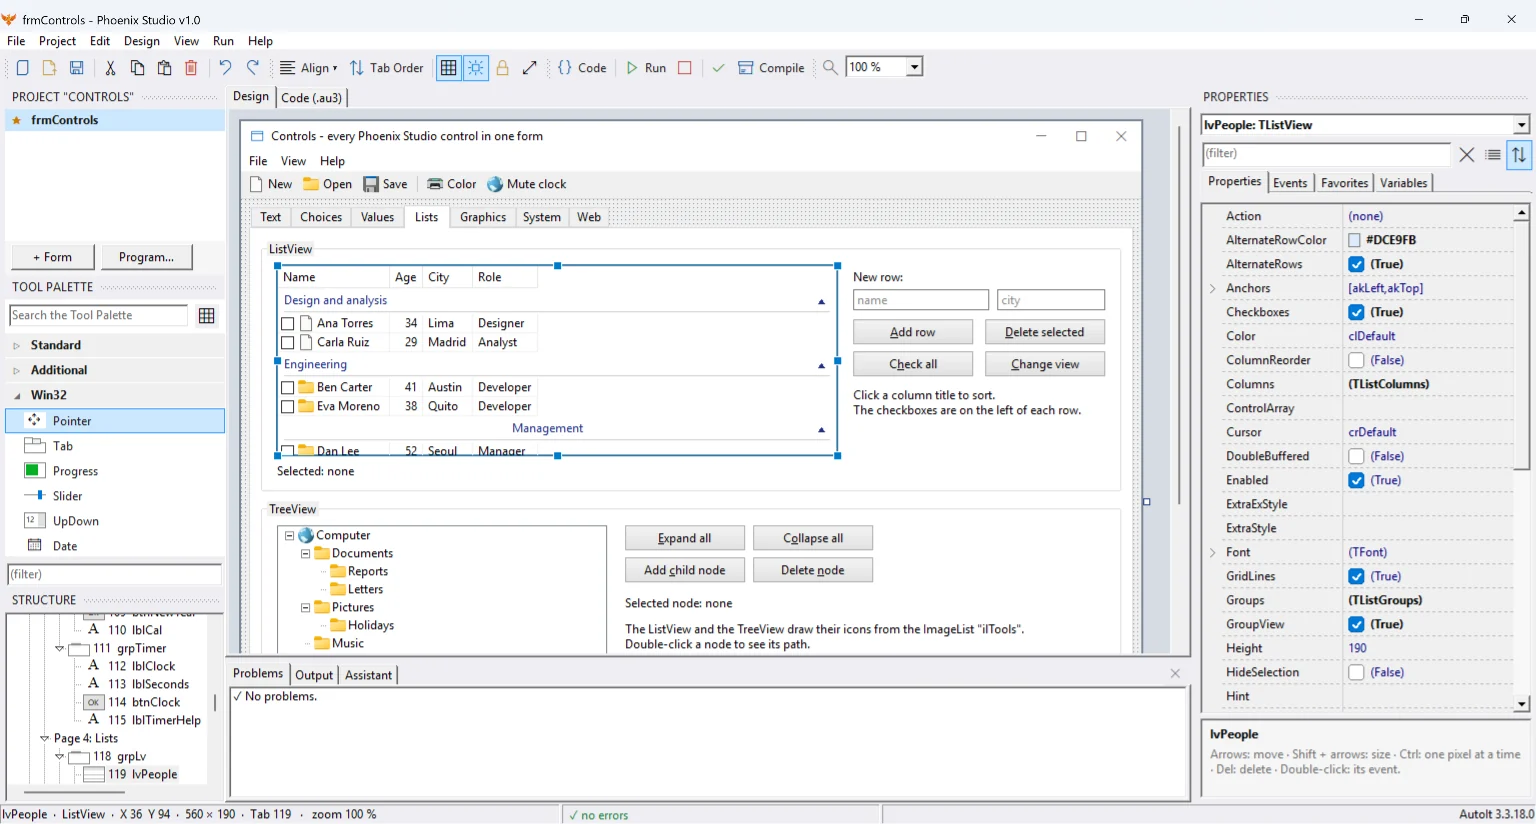
The toolbox on the left holds the controls in collapsible categories, with a search box. Drag an input (Input) and a button (Button) onto your window. Move them with the mouse or the arrow keys; Shift + arrows resizes and Ctrl moves one pixel at a time.
4. Change their properties
With a control selected, the properties inspector (on the right) shows everything you can change: text, font, color, size, anchors and more. Set the button's Caption to &Hello and the input's name to inpName.
5. Bring it to life with an event
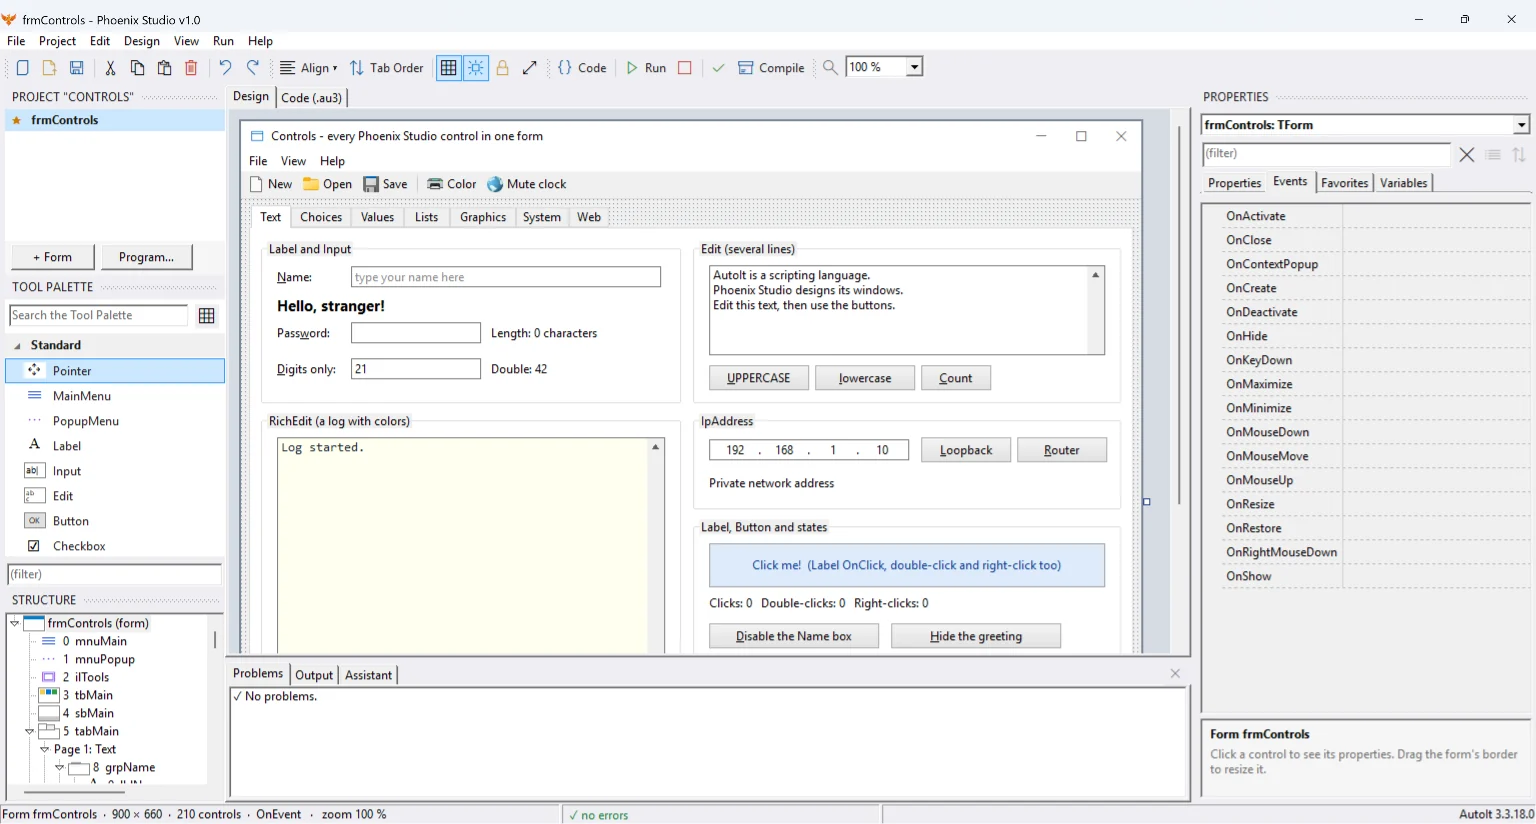
Double-click the button: the IDE adds the function for its main event to your code, with the right name, and takes you to it. Write what should happen there, for example showing a greeting with whatever is in the input. Other events are on the inspector's Events tab.
6. Run it
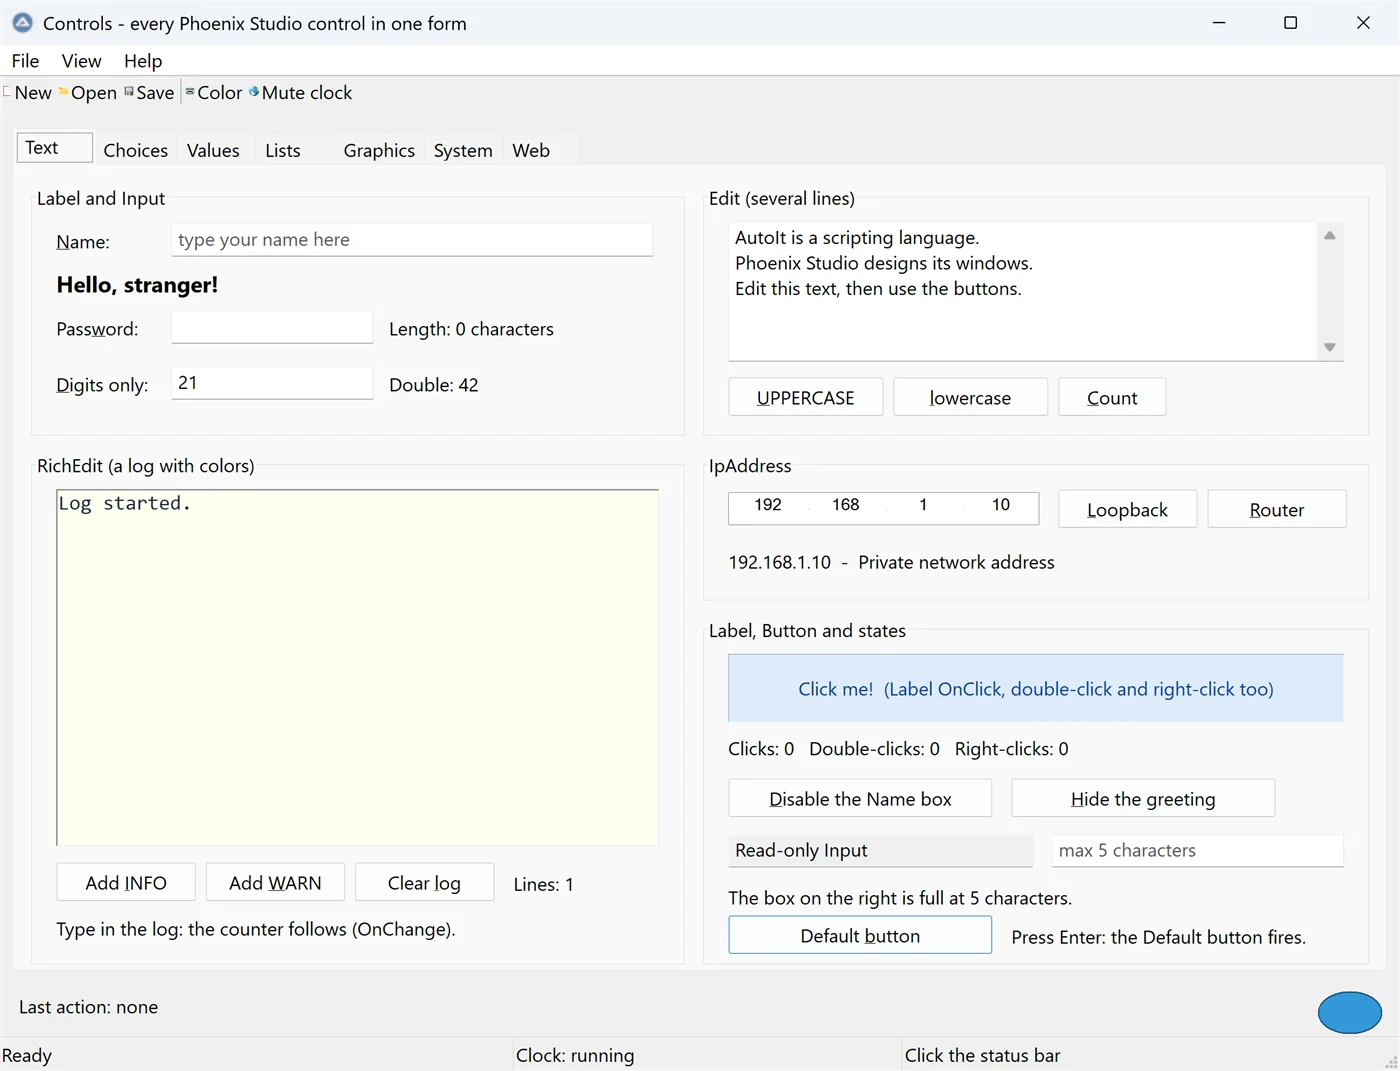
Press F5 to run your program. If something is wrong, Au3Check marks the error in the editor and in the output; click it to jump to its line. When it is ready, F9 compiles it to an .exe.
Where your code goes
The Code tab shows the complete .au3. The design lives in regions marked by the IDE: do not edit them by hand, because they are rewritten. Your functions and everything else go outside them, and the IDE never deletes them.
To take your code with you: in version 1.0.2, Edit ▸ Copy all code and File ▸ Save code as .au3. The result is plain AutoIt: it runs with AutoIt without Phoenix Studio.